10/22/2023 A Python setup on MacOS
A memo describing how to setup a robust Python environment on MacOS >= Ventura
13.5
Know which version your system is using
python3 --version

python3 -m pip --version
At runtime :
import sys
print(sys.version_info)
print(sys.version)
Setup pyenv to manage your versions
See the pyenv README
brew install pyenvThen basically for fish shell, add the following in config.fish :
set -g -x PYENV_ROOT $HOME/.pyenv
fish_add_path $PYENV_ROOT/bin
pyenv init - | source
echo $PATH
# outputs :
# /Users/myuser/.pyenv/shims ...
pyenv versions
# outputs :
# * system
# Requires a build environment to build Python new versions
# xcode-select --install
# brew install openssl readline sqlite3 xz zlib tcl-tk
pyenv install 3.12.0
pyenv version
# outputs :
# * system
# 3.12.0
# Use the 3.12.0 installed version globally
pyenv global 3.12.0
python3 --version
# outputs :
# Python 3.12.0
# to restore the system version globally
pyenv global systemPyenv relies on the usage of so-called shims, visit https://github.com/pyenv/pyenv for further documentation
which python3
# outputs :
# /Users/myuser/.pyenv/shims/python3
Setup your development environment
For neovim, thanks to mason plugin, you can easily provide :
# lsp server
pyright

# tools
# python linter
ruff
# python linter and static type checker
mypy
# python code formatter
black
Start a project with venv (virtual env)
mkdir myproject && cd myproject

python3 -m venv venv

cd venv

ls
# outputs :
# bin   include    lib    pyvenv.cfg
Activate the venv:
source bin/activate

# or for a fish shell
. venv/bin/activate.fish
You can check with which python that you are now in a virtual env.
Notice that it's activated in the current shell only.
Deactivate the venv:
deactivate

# or
. venv/bin/deactivate.fish
Reproducing dependencies in another venv
You can easily list your project's dependencies :
python3 -m pip listTo save all of your explicit package dependencies into a file (which, by
convention, is named requirements.txt) :
# list your dependencies
python3 -m pip list

python3 -m pip freeze > requirements.txt

cat requirements.txt
# outputs :
# numpy==1.16.2
# pytz==2018.9
Then imagine you'd like to have another venv that matches the myproject
environment :
python3 -m venv otherproject

cd otherproject

source bin/activate
The otherproject will have no extra packages installed :
(otherproject)$ python3 -m pip list
# outputs :
# pip 10.0.1
# setuptools 39.0.1

# install the myproject deps :
(otherproject)$ python3 -m pip install -r ../myproject/requirements.txt

# Check !
(otherproject)$ python3 -m pip list
Useful commands
Keep pip up-to-date :
python -m pip install --upgrade pipList pip packages :
python -m pip listUseful packages
Enhanced python interactive shell :
python -m pip install ipythonThe IPython kernel, which allows IPython to be used as a Jupyter kernel :
python -m pip install ipykernelJupyter and the Jupyter Notebook
Jupyter Notebook is a notebook authoring application, under the Project Jupyter umbrella.
Before Jupyter Notebook, which is at the time of writing the current standard, one could use IPython Notebook.
See documentation on Jupyter Notebook.

The Jupyter notebook combines two components:
A web application: a browser-based editing program for interactive authoring of computational notebooks which provides a fast interactive environment for prototyping and explaining code, exploring and visualizing data, and sharing ideas with others
Computational Notebook documents: a shareable document that combines computer code, plain language descriptions, data, rich visualizations like 3D models, charts, mathematics, graphs and figures, and interactive controls. Note that these documents are internally
JSONfiles and are saved with the.ipynbextension (See documentation on this format)
requirements :
python -m pip install jupyterlabRun your local Notebook server by executing:
jupyter notebookIf everything is set up correctly,
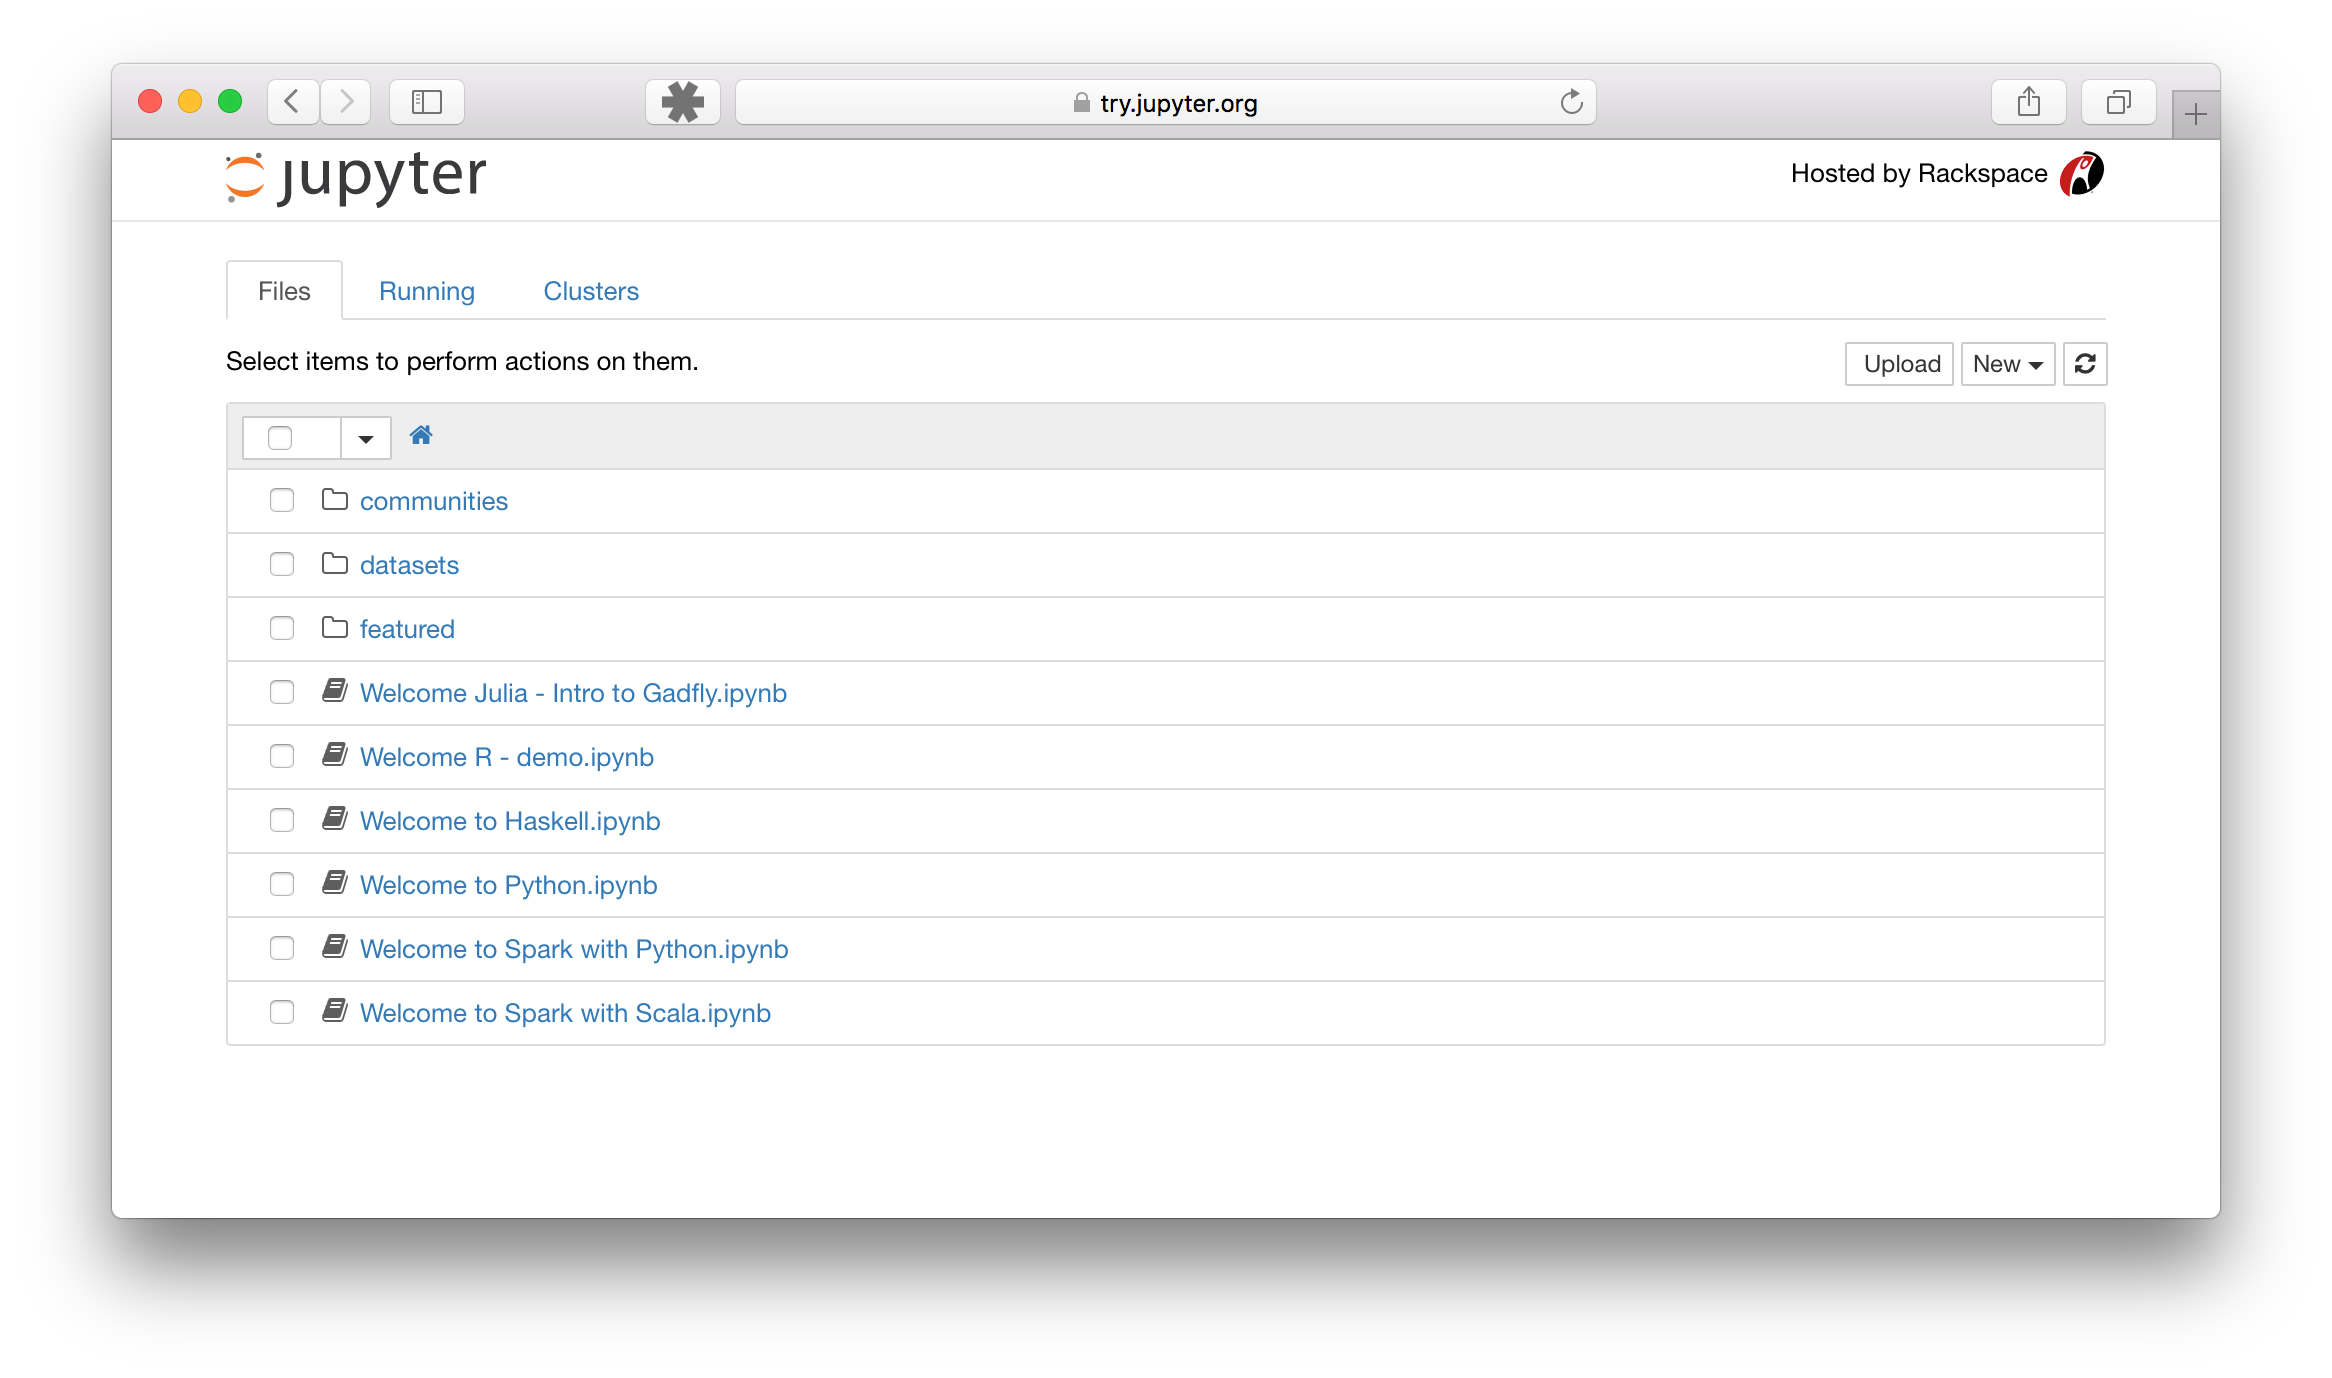
you should see the Jupyter Notebook interface launching in your browser on http://localhost:8888/
Useful commands to show your current configuration :
jupyter --config-dir
jupyter --data-dir
jupyter --runtime-dir
jupyter --paths
Most of the time, you will wish to start a notebook server in the highest level directory containing notebooks. When you need to open a single notebook document, run directly :
jupyter notebook my_notebook.ipynbThe Jupyter Notebook server is a communication hub between :
- a kernel (by default, the IPython kernel called
IPykernel) - a notebook file on disk
- a browser
The Jupyter server, not the kernel, is responsible for saving and loading notebooks, so you can edit notebooks even if you don’t have the kernel for that language. You just won’t be able to run code.
To run notebooks in languages other than Python, such as R or Julia or Typescript
you will need to install additional kernels.
See documentation on Jupyter notebook architecture.
See documentation on running the Jupyter notebook.
See documentation on using the Jupyter notebook.
A useful .gitignore
Compiling and running TypeScript in Jupyter with Deno
To use Deno in your notebook, you must have the Deno kernel installed. First, you can test run your Deno kernel by running the following command: